


It has been a while since my last post and I must apologize for that…things got really busy and after the pool was done, we spent a lot of time outside 🙂
However, here are some pictures of the dining room. Not 100% complete but pretty much there.
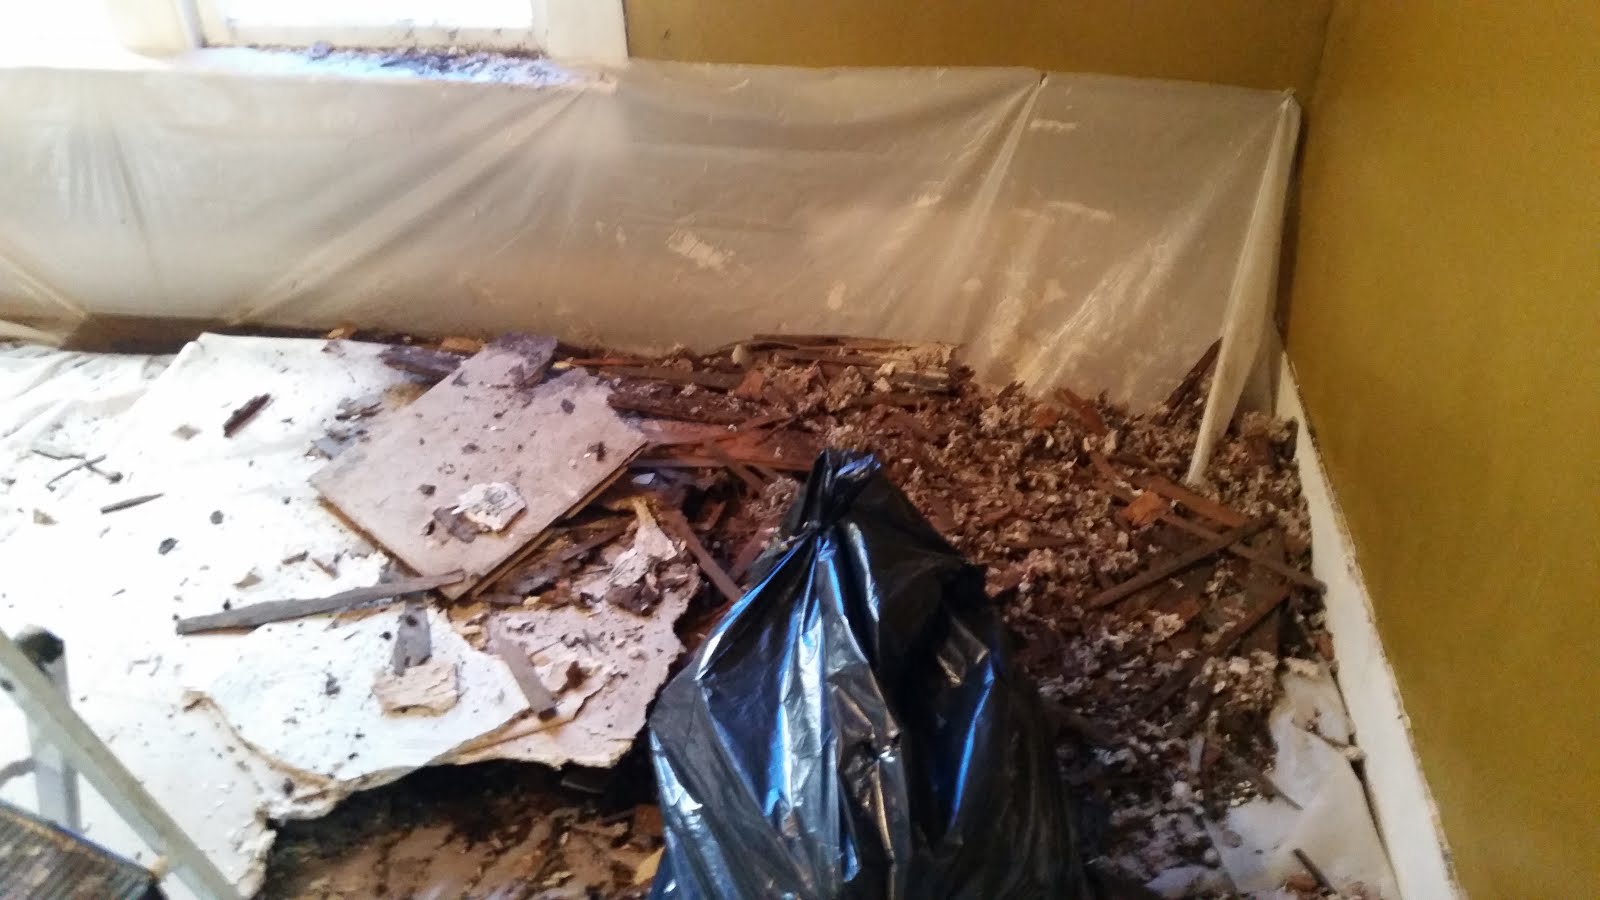
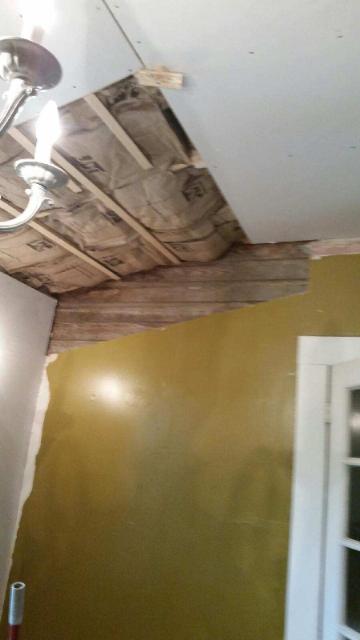
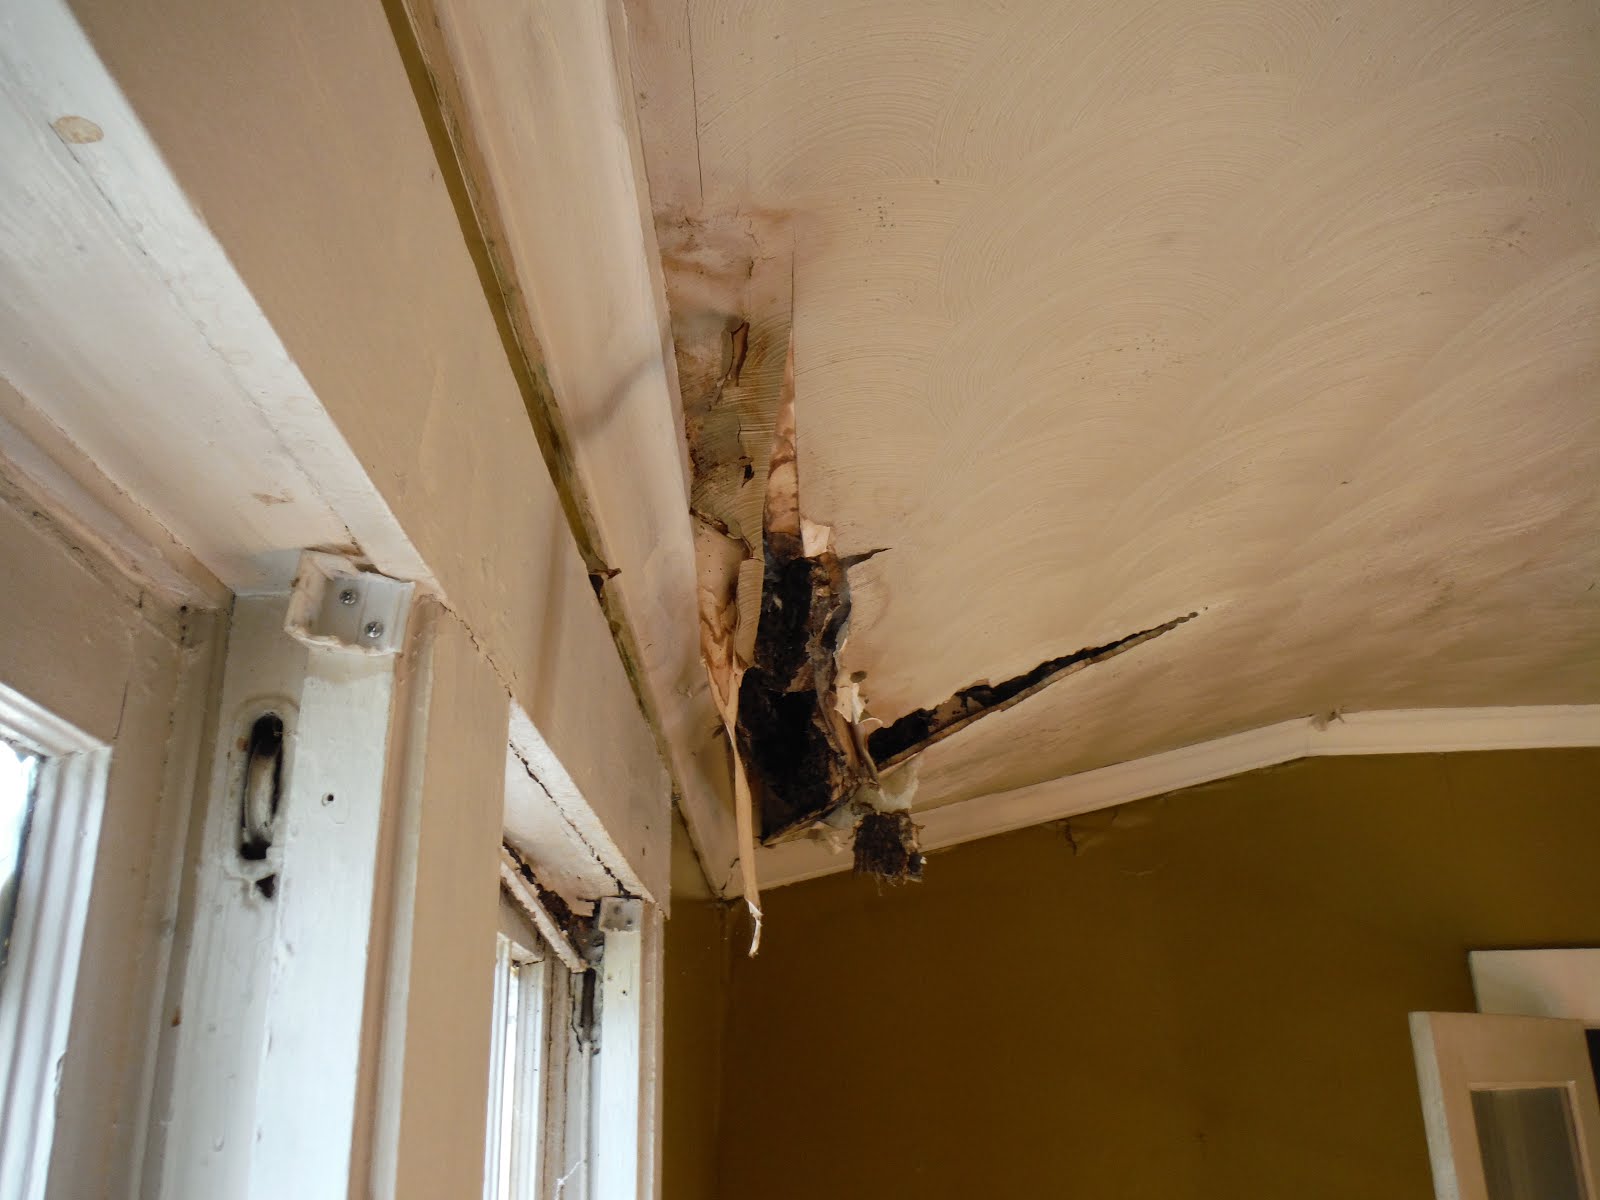
As you know when we first purchased the house, the dining room roof and ceiling had problems. There was a massive hole in the roof which had caused all the ceiling and the outside wall to be completely rotted and moldy.
We were very lucky to have Sam and Jessica come to visit and they helped to pull down all the bad drywall on the ceiling and walls, remove the bad framing and roof. WOW what a mess, that is for sure. The smell was not particularly nice because of the mold.
Here are some pictures from the inspector and from when we arrived in October 2014.

 |
|
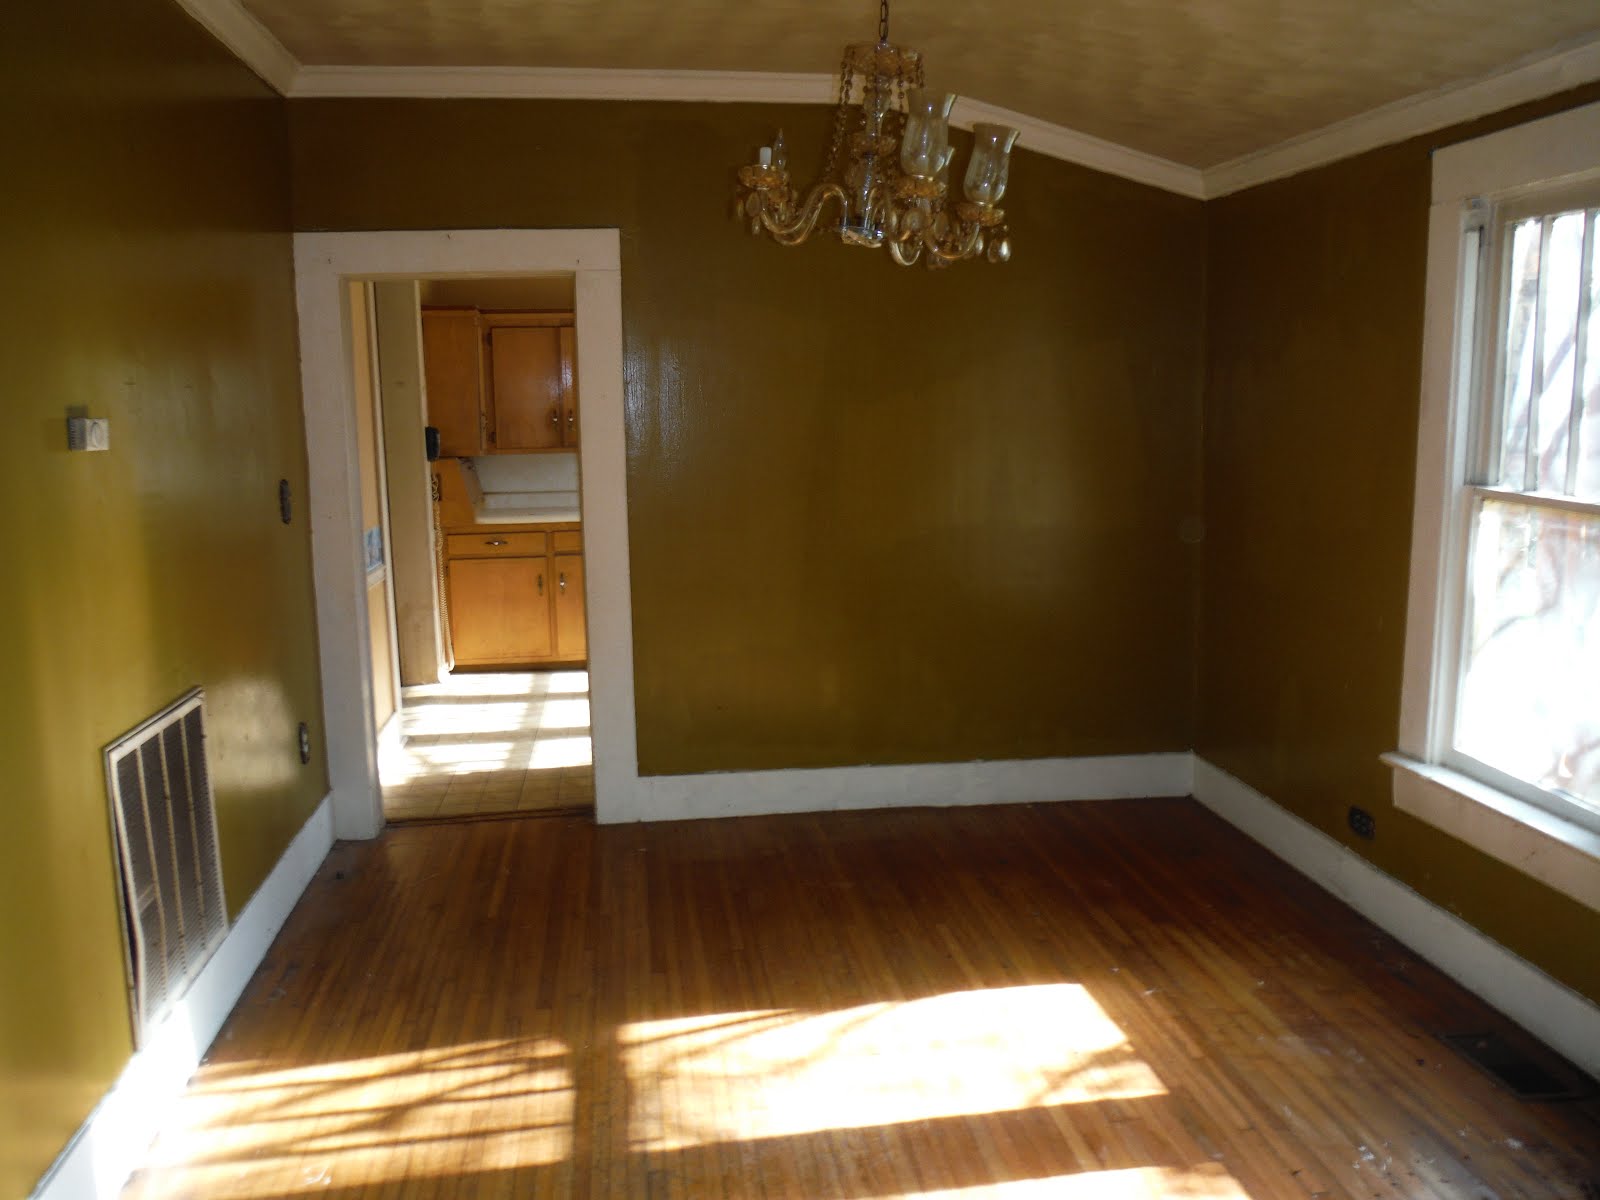
This picture actually makes the dining room look respectable…all the bad parts are behind the camera.
|
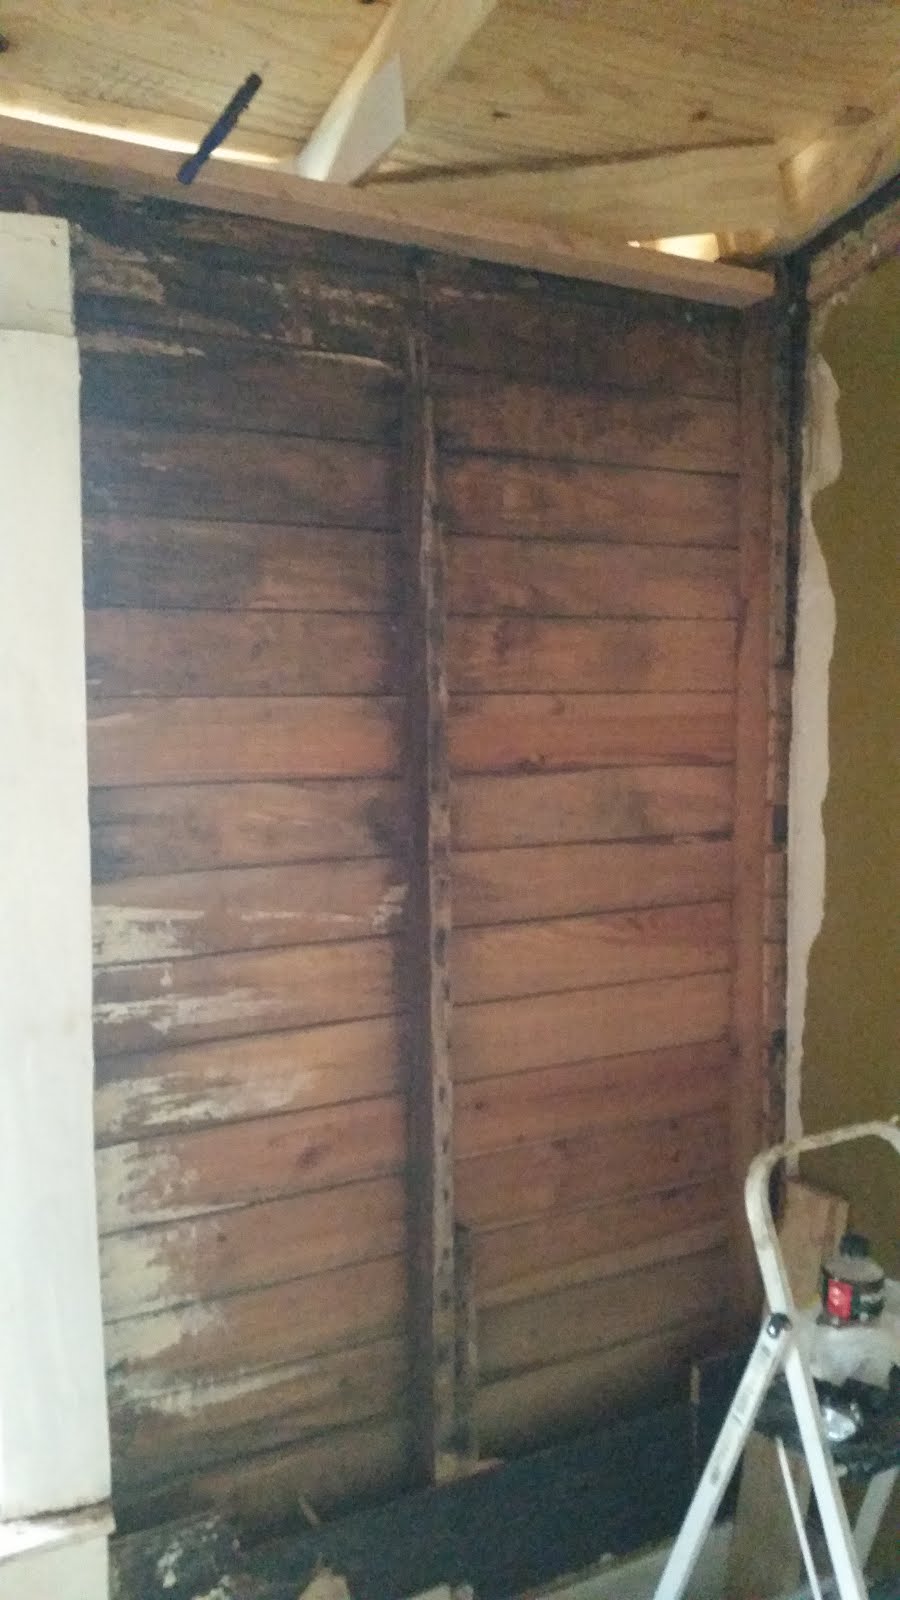
So after all the bad had been removed, Kevin started the long process of replacing. Below is a picture of insider to the right of the window after the wall has been cleaned and the new roof is on. Below is a picture of the area for the final piece of drywall. I might add here that Kevin hates drywalling with a passion so we are really glad that there is only a small amount of drywall work left to do in the blue room.

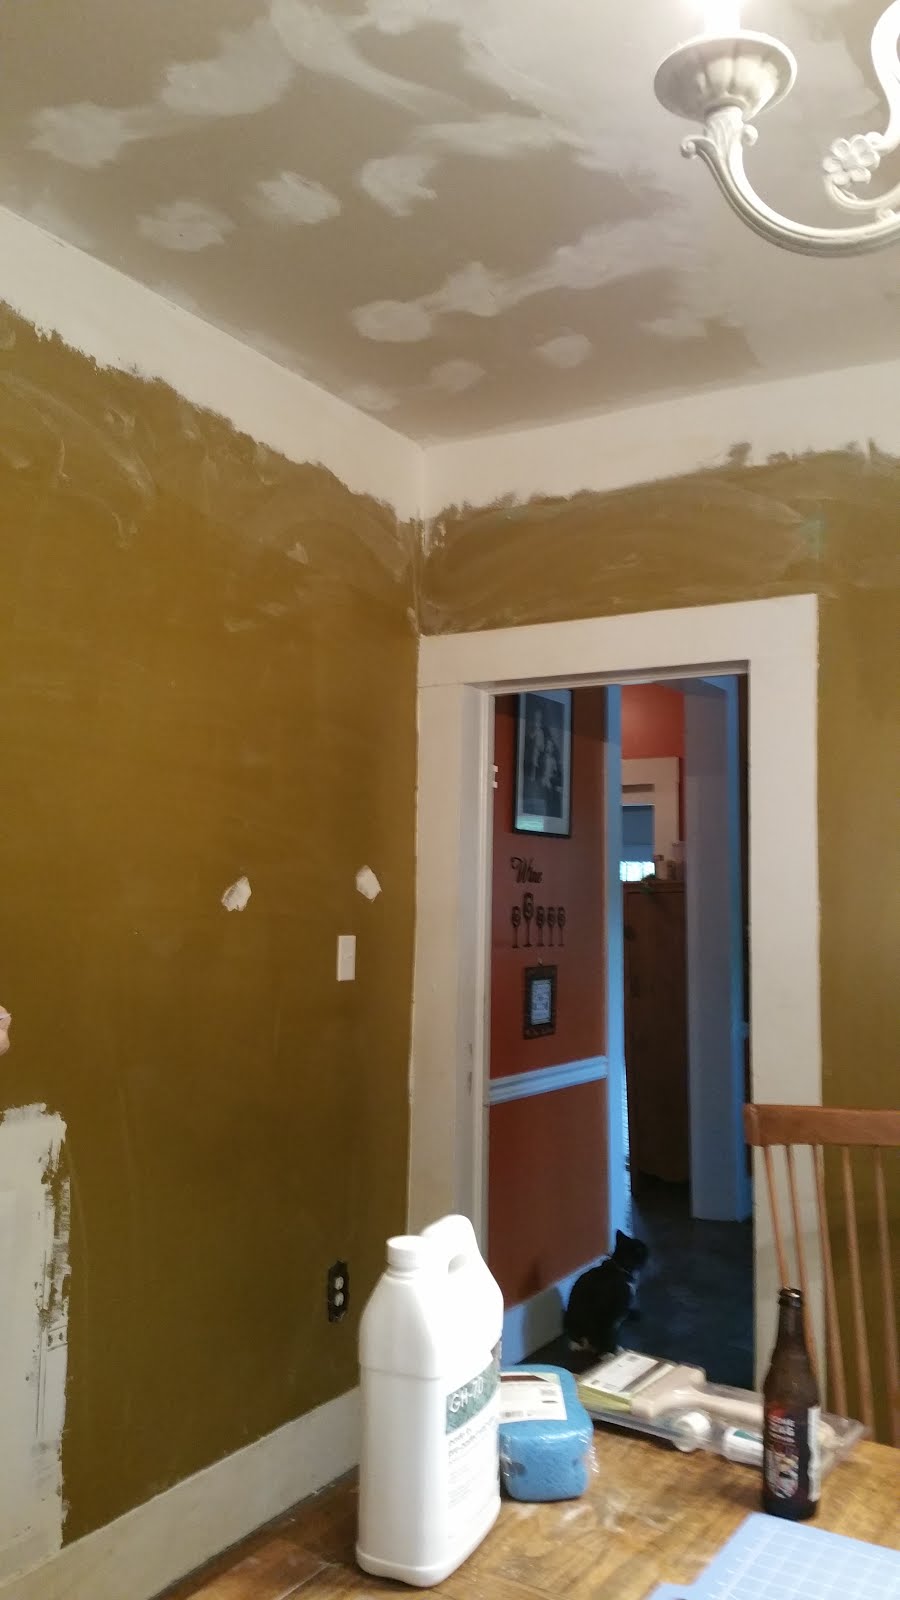
Once the drywall was all completed, the next step was to paint the walls. The window wall we wanted to be a dark forest green and the other three walls an off white color with a hint of yellow to work with the green. All trim to freshly painted white.

For the ceiling we really really wanted tin tiles, but cost was way way above our tight budget. The room is 15*20 and for actual tin it was going to cost about $8000, for the “fake” tin tiles you can get at Lowes it was going to cost $3000. Pinterest came to our rescue…someone had posted that they had used a wallpaper with a tile design on it and then painted it with metallic paint.
So with the help of my quilting equipment I cut the wallpaper into squares so that it would be easier to put up on the ceiling. Here are some pictures of the wallpaper and paint.
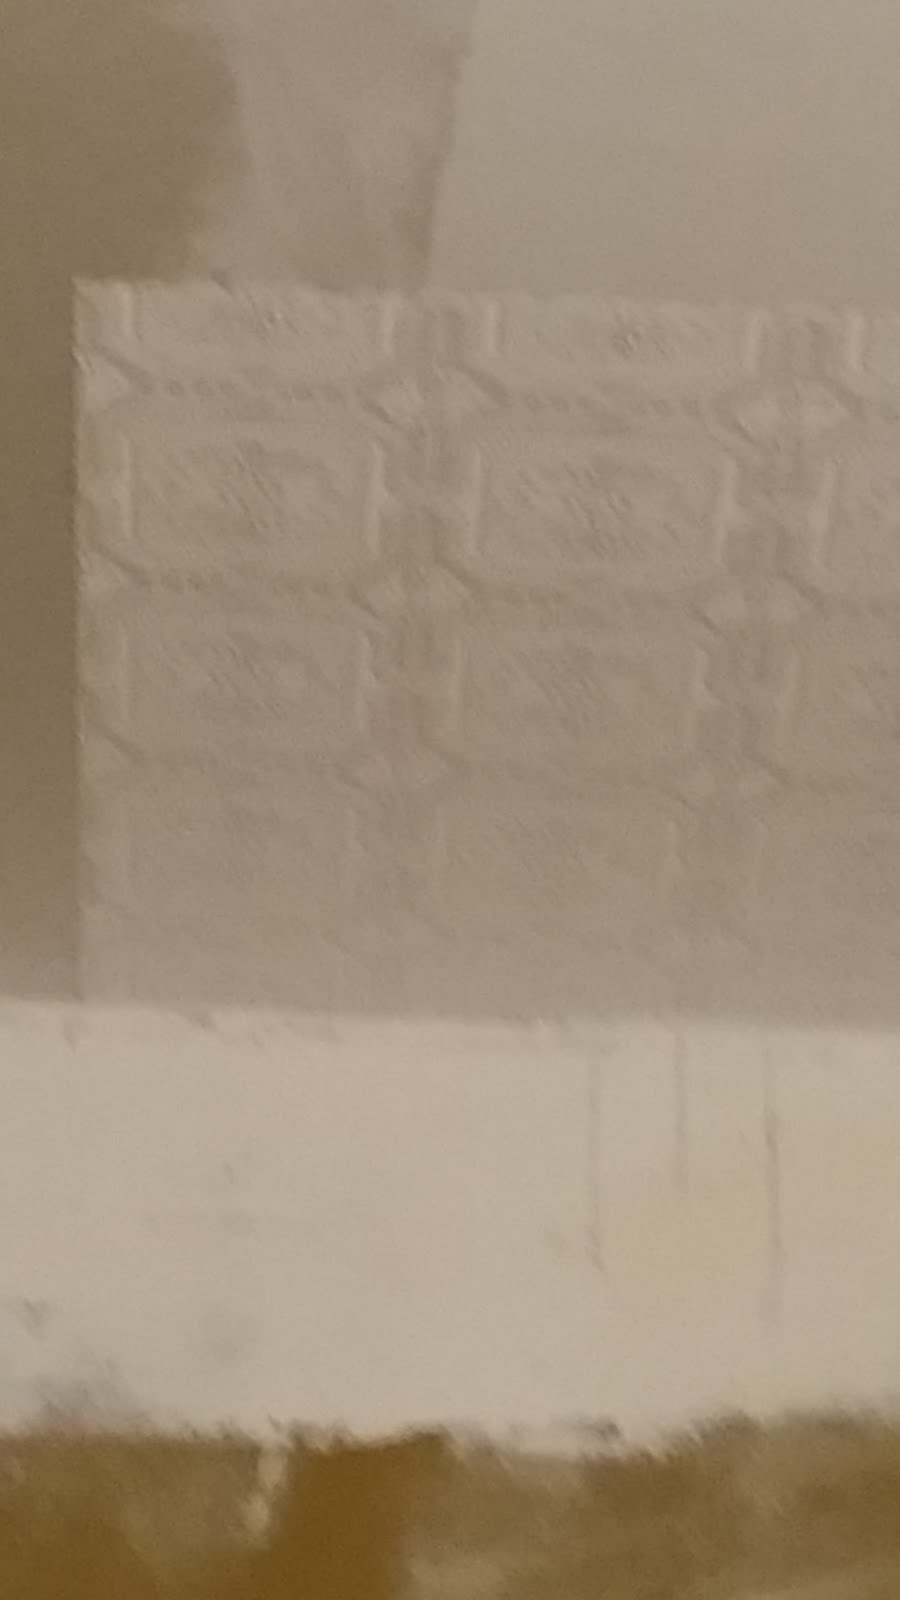
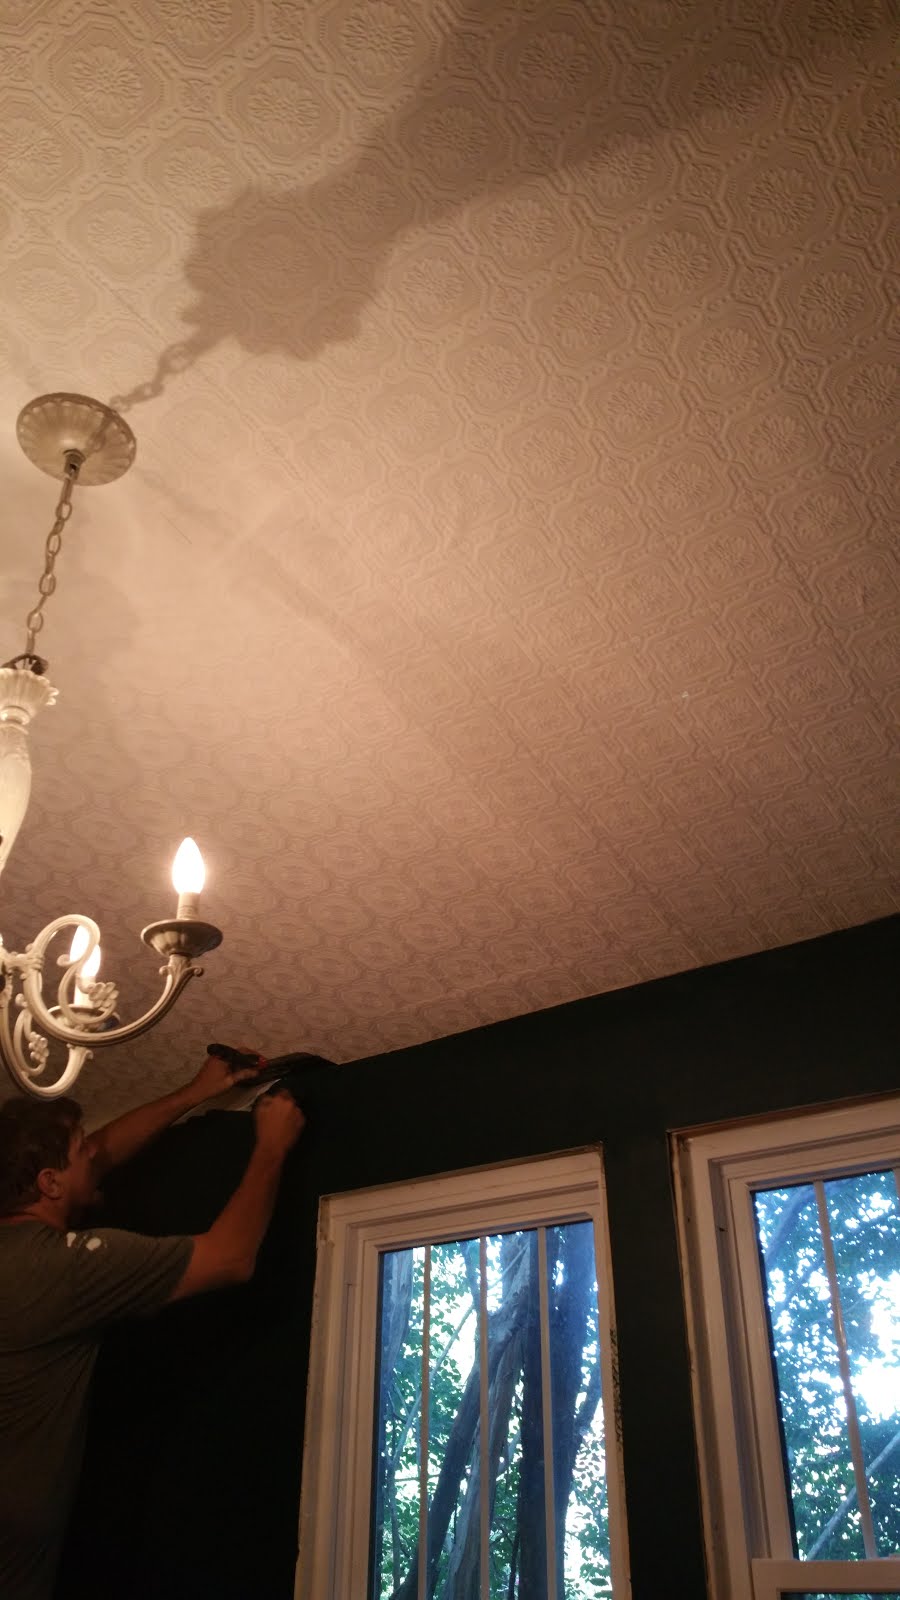
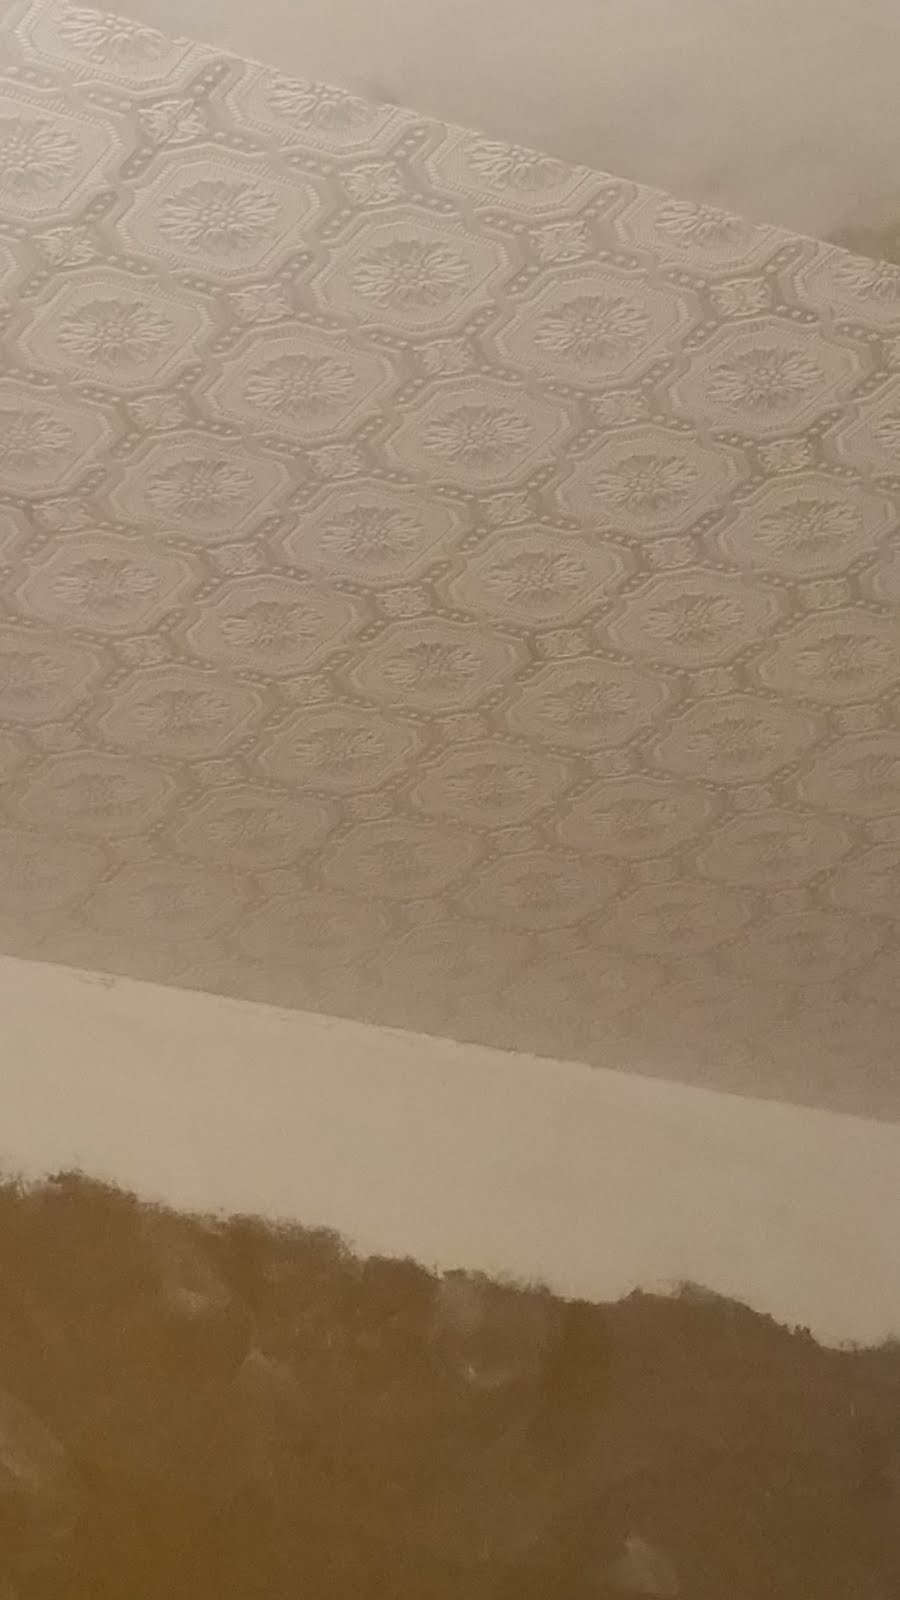
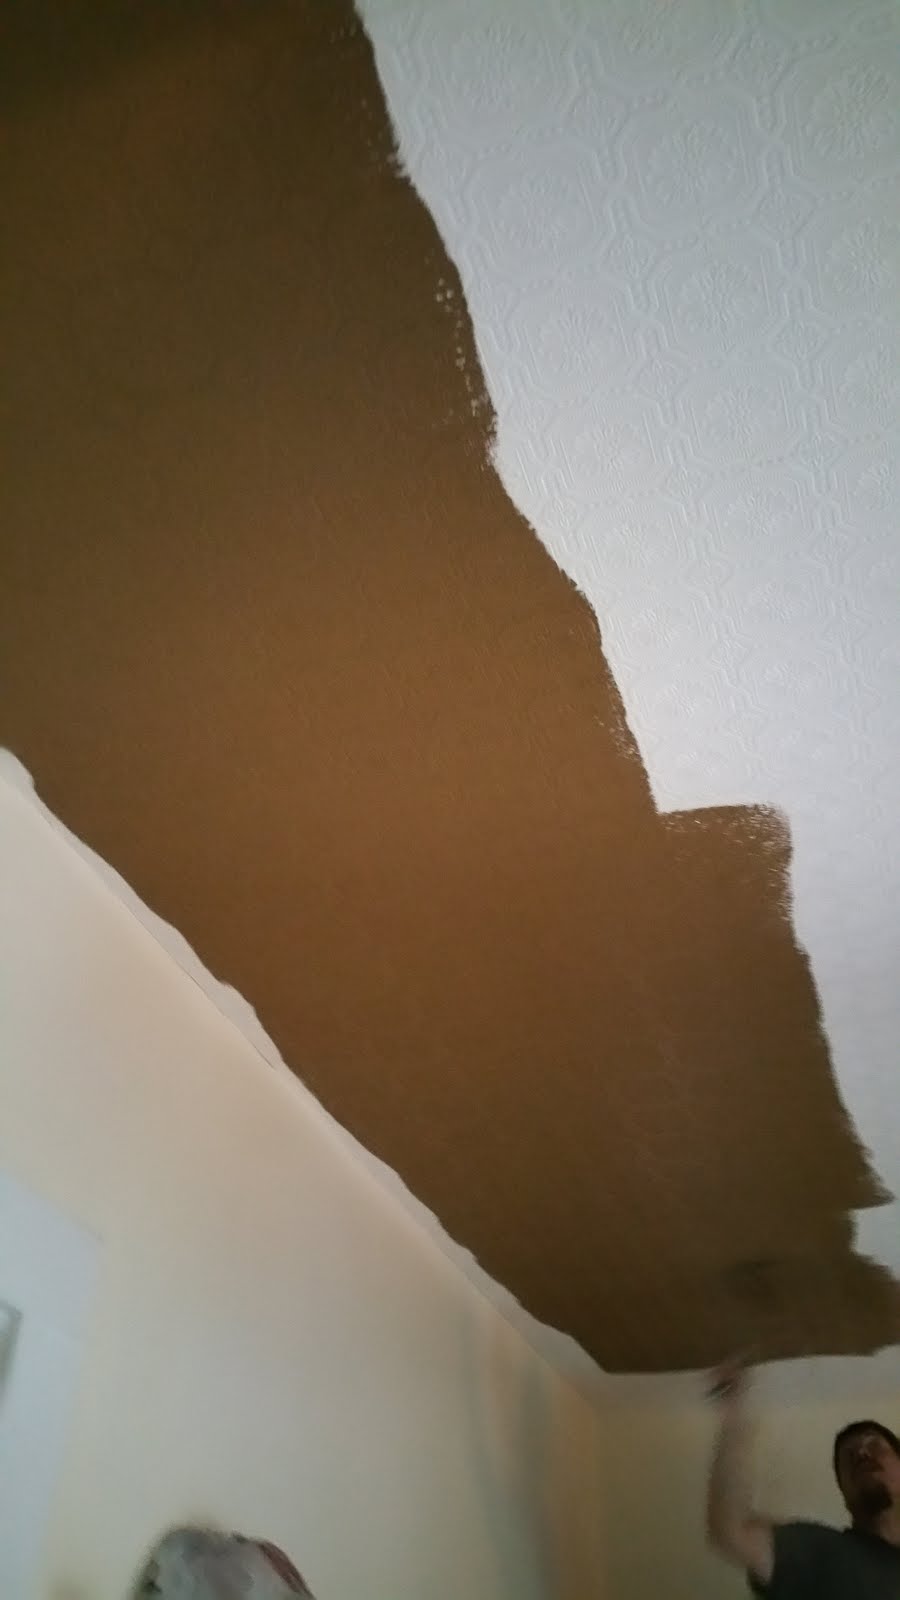
Once the wallpaper was up on the ceiling and had dried we set about painting it. First a light brown primer and then the metallic paint.
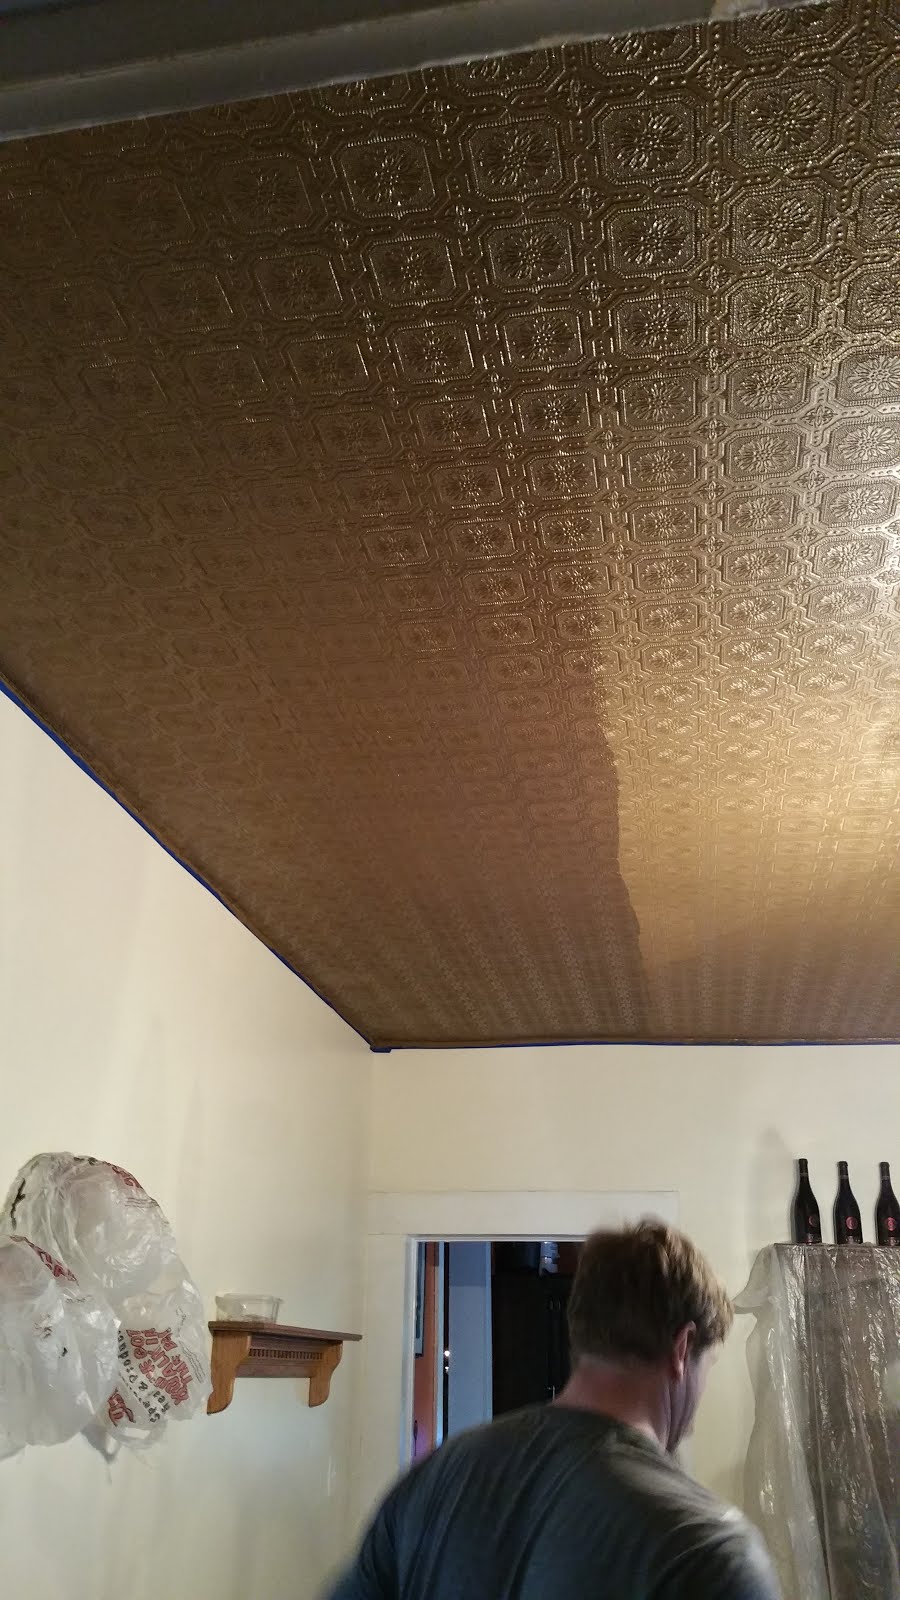
Light fixtures were a challenge as I wanted sconces on the wall and I wanted the candelabra to have crystals. I couldn’t find one that I like at the right price, but Charlie and I found a matching set of candelabra and wall sconces in Lowes one day. I purchased some crystals from Ebay and voila, a perfect set.
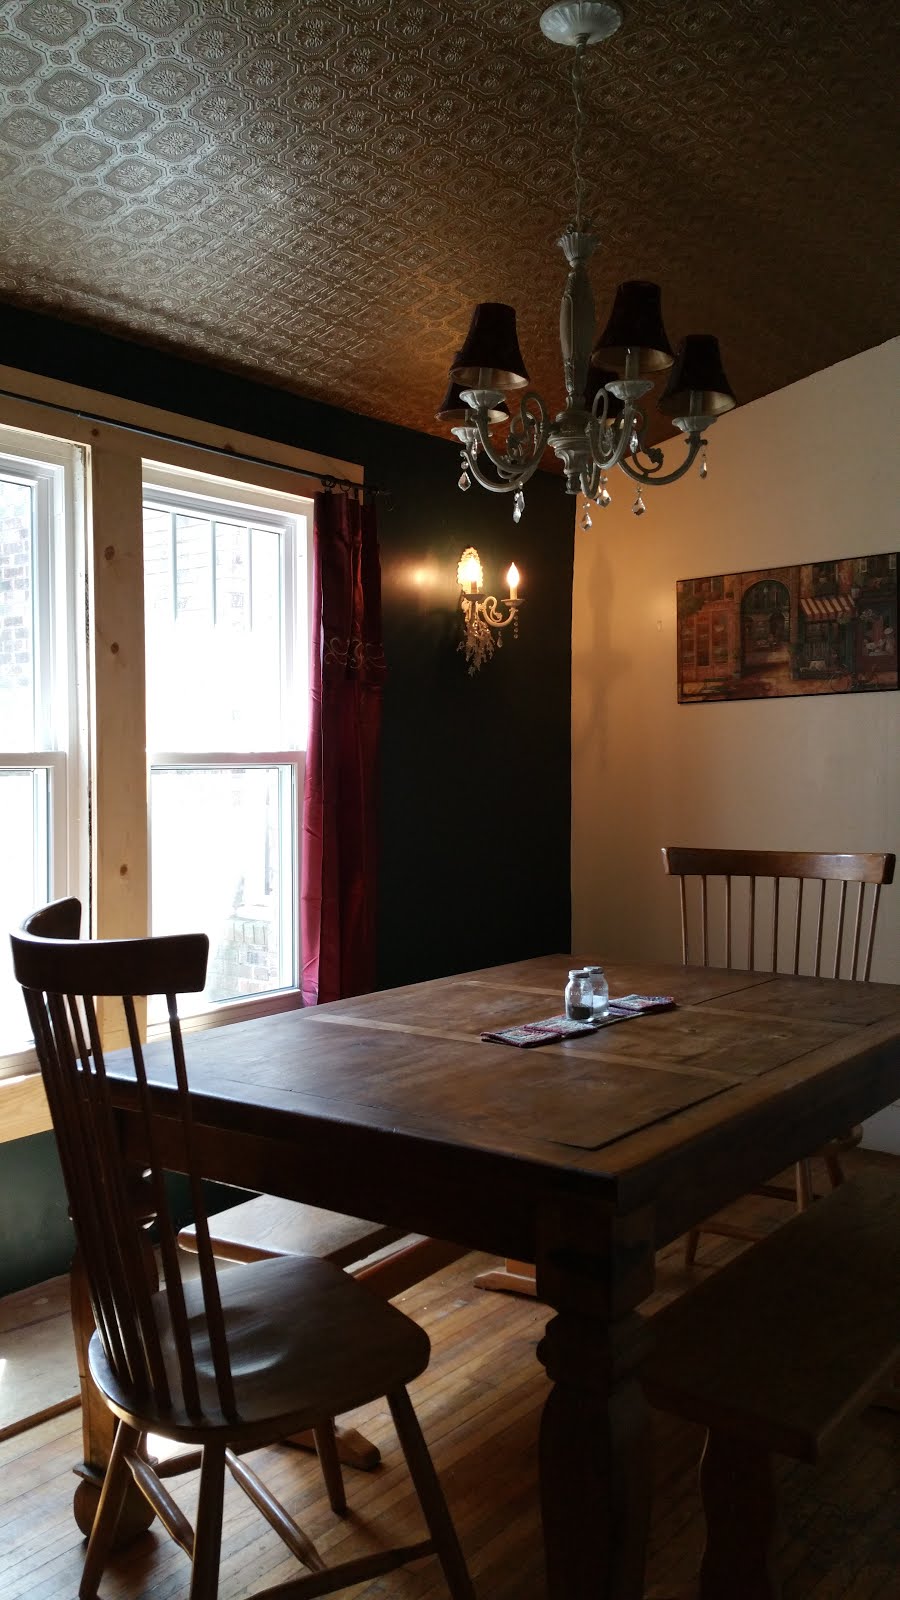


We still have to put up new molding and finish the floors but apart from that the dining room is complete.
